

This crispy, golden Sweet and Sour Chicken is coated in a tangy pineapple sauce and tossed with tender bell peppers for a bold, flavor-packed bite every time. Each piece delivers the perfect mix of sweet, sour, and savory, making it a favorite for both family dinners and weekly meal prep. Whether you’re recreating your favorite takeout dish or simply craving something satisfying, this homemade Sweet and Sour Chicken brings all the flavor with none of the fuss. Quick to prepare, easy to customize, and irresistibly delicious—it’s a comfort food classic you’ll want to make again and again.
Contents
Why You’ll Love This Sweet and Sour Chicken
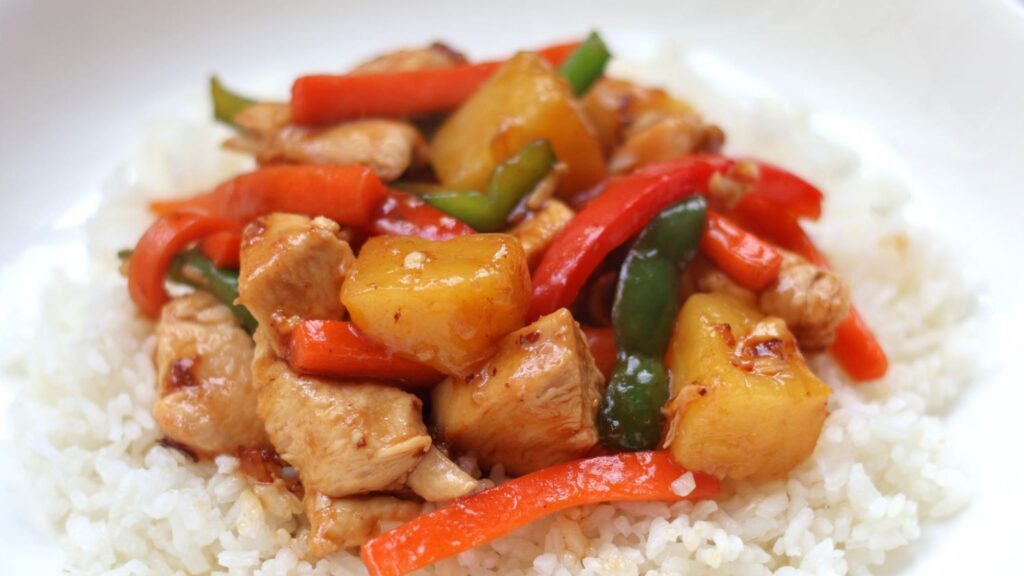
There’s something incredibly satisfying about making restaurant-style Sweet and Sour Chicken right in your own kitchen. This recipe offers that irresistible combination of crispy fried chicken with a juicy interior, all tossed in a tangy, glossy pineapple sauce that coats each bite perfectly. It brings bold, crowd-pleasing flavors without the need for takeout menus or delivery fees.
What sets this Sweet and Sour Chicken apart is its balance—sweetness from pineapple, sharpness from vinegar, and just enough savoriness to keep you coming back for more. It’s quick enough to whip up on a weeknight but delicious and beautiful enough to serve to guests. Pair it with steamed rice or noodles, and you’ve got a complete meal that’s both comforting and exciting.
Plus, it’s the perfect dish to showcase your stainless steel kitchen tools. With its even heating and easy clean-up, cooking Sweet and Sour Chicken has never been more enjoyable.
Everything You Need to Get Started
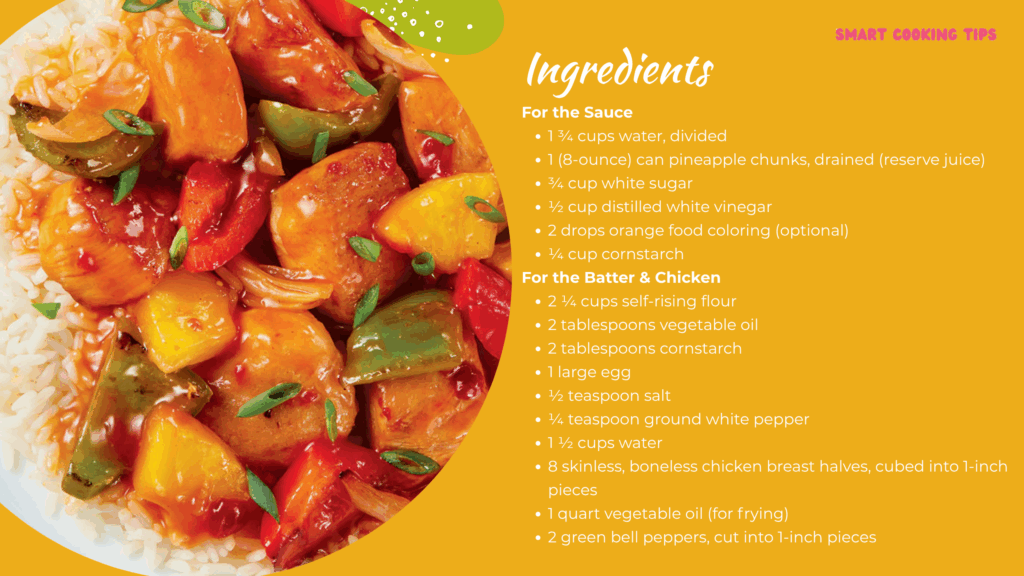
Here’s a complete list of everything you’ll need to make Sweet and Sour Chicken at home—from the tangy sauce ingredients to the crispy chicken batter and fresh vegetables.
For the Sauce
- 1 ¾ cups water, divided
- 1 (8-ounce) can pineapple chunks, drained (reserve juice)
- ¾ cup white sugar
- ½ cup distilled white vinegar
- 2 drops orange food coloring (optional)
- ¼ cup cornstarch
For the Batter & Chicken
- 2 ¼ cups self-rising flour
- 2 tablespoons vegetable oil
- 2 tablespoons cornstarch
- 1 large egg
- ½ teaspoon salt
- ¼ teaspoon ground white pepper
- 1 ½ cups water
- 8 skinless, boneless chicken breast halves, cubed into 1-inch pieces
- 1 quart vegetable oil (for frying)
- 2 green bell peppers, cut into 1-inch pieces
Step-by-Step: How to Cook It to Perfection
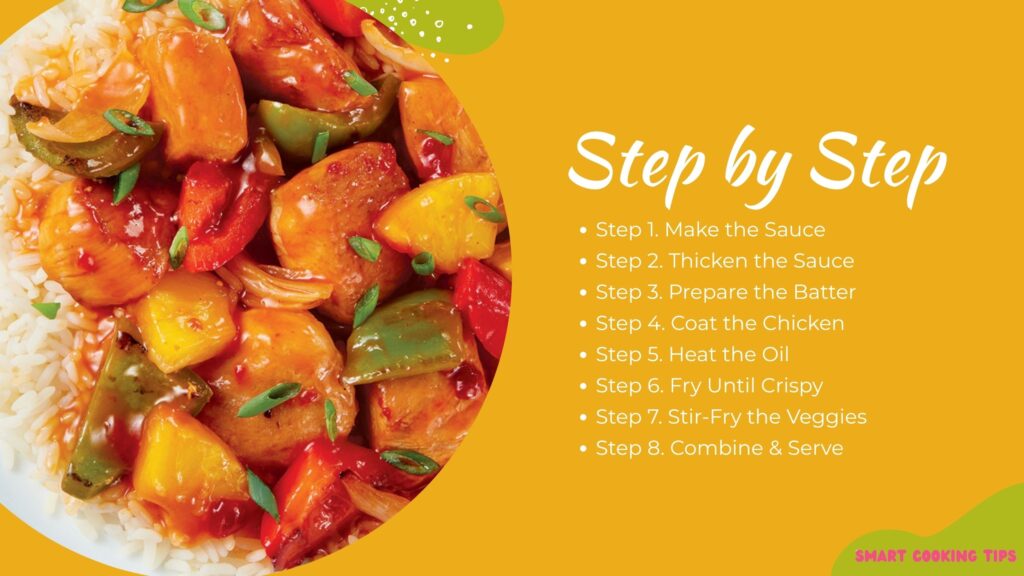
Step 1. Make the Sauce
Start your Sweet and Sour Chicken journey by building the bold, tangy sauce. In a medium saucepan, combine the reserved pineapple juice, ¾ cup of water, white sugar, vinegar, and a couple of drops of orange food coloring (optional). Place the pan over medium heat and stir frequently until the sugar dissolves completely and the mixture begins to gently simmer. This sweet, tangy base is essential to the dish’s signature flavor.
Step 2. Thicken the Sauce
In a small bowl, whisk ¼ cup of cornstarch with 1 cup of water until smooth to form a slurry. Gradually pour this into the simmering sauce, whisking constantly to avoid lumps. The mixture will thicken quickly into a glossy, velvety sauce. Once thickened, remove the pan from the heat and set aside. This sauce is what transforms the crispy chicken into classic Sweet and Sour Chicken.
Step 3. Prepare the Batter
In a large mixing bowl, whisk together the self-rising flour, cornstarch, egg, salt, white pepper, and 1½ cups of water until smooth. The batter should have a pourable, pancake-like consistency—thick enough to coat the chicken evenly without dripping off.
Step 4. Coat the Chicken
Toss the chicken cubes into the batter until each piece is fully coated. Make sure the batter clings well to every piece for maximum crunch during frying.
Step 5. Heat the Oil
Pour 1 quart of vegetable oil into a ChopChop USA stainless steel pan or deep fryer. Heat the oil to 350°F (175°C), using a kitchen thermometer to ensure accuracy. This step ensures your chicken gets the perfect crispy texture.
Step 6. Fry Until Crispy
Fry the battered chicken in batches, avoiding overcrowding to keep the oil temperature stable. Cook each batch for 4–5 minutes until golden brown and cooked through. Remove and drain on paper towels to retain crispiness.
Step 7. Stir-Fry the Veggies
In a clean pan, stir-fry the bell peppers for about 2 minutes over medium-high heat. This quick sauté softens them just enough while keeping a fresh, crunchy bite.
Step 8. Combine & Serve
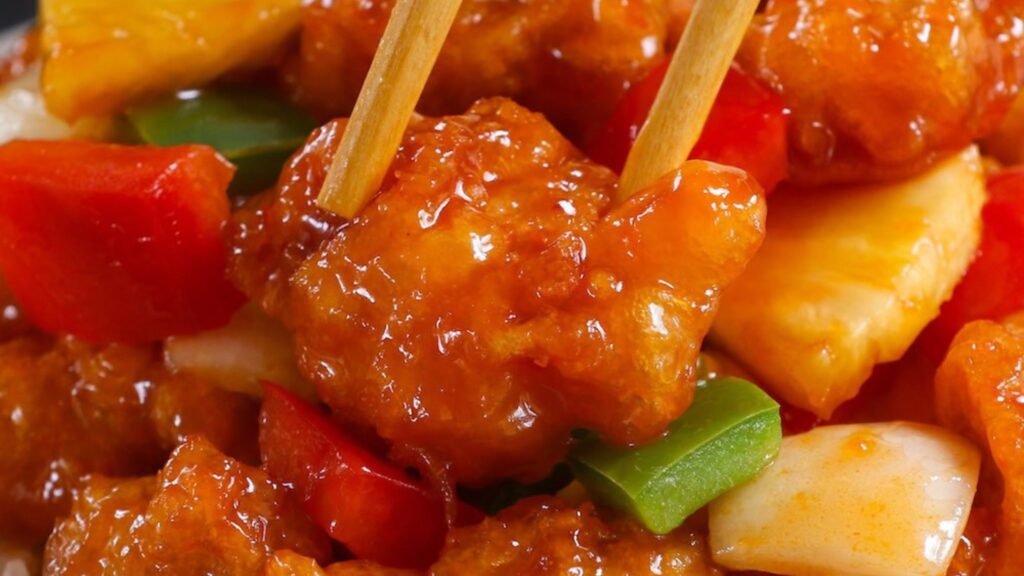
Add the fried chicken and pineapple chunks to the stir-fried peppers. Pour the warm sauce over everything and toss gently to coat. Serve your Sweet and Sour Chicken hot over steamed jasmine rice for a restaurant-quality meal at home.
Pro Tips for Best Results
To make your Sweet and Sour Chicken truly unforgettable, follow these expert tips that guarantee flavor, texture, and presentation:
- Cut chicken evenly: Uniform pieces cook at the same rate for perfect texture.
- Fry in small batches: Prevents overcrowding and keeps oil at optimal temperature.
- Use fresh bell peppers: They add vibrant color and a satisfying crunch.
- Add sauce last: Coat just before serving to maintain the chicken’s crispiness.
- Adjust sauce thickness: Control with more or less cornstarch slurry to match your preference.
- Monitor oil temperature: Use a thermometer to keep it around 350°F (175°C).
These tips ensure your Sweet and Sour Chicken turns out delicious, crisp, and restaurant-quality every time.
What to Serve with This Dish

Complete your Sweet and Sour Chicken meal with these delicious side pairings that balance texture, flavor, and nutrition:
- Steamed jasmine or basmati rice – A light, fluffy base that soaks up every drop of sauce.
- Stir-fried mixed vegetables – Adds color, crunch, and nutrients to your plate.
- Cold cucumber salad or Asian slaw – Refreshing sides that cut through the richness.
- Garlic noodles or egg-fried rice – For those craving an extra indulgent, satisfying bite.
These accompaniments elevate your Sweet and Sour Chicken into a well-rounded, satisfying feast.
Want More Recipes Like This? Try These Next
If you loved this Sweet and Sour Chicken, here are more mouthwatering recipes to try next that bring bold flavors and satisfying textures to your table.
Cookware Spotlight: Tools That Elevate Every Dish
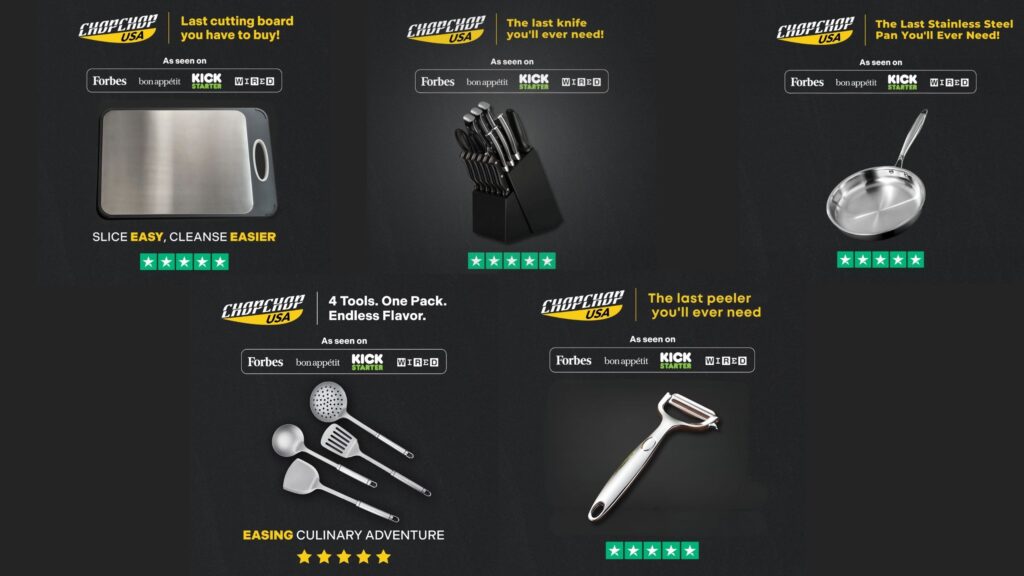
Your cooking tools can make or break the experience in the kitchen, and with ChopChop USA’s premium cookware lineup, every meal feels like a professional production. Whether you’re preparing Sweet and Sour Chicken or a quick weekday stir-fry, these tools combine durability, precision, and design to enhance every step of the cooking process.
- Double-Sided Stainless Steel Cutting Board: Designed for efficiency and hygiene, this board features one surface for meats and another for fruits or vegetables. It’s ultra-durable, easy to clean, and prevents flavor transfer and cross-contamination.
- Stainless Steel Knife Block Set: From delicate slicing to heavy-duty chopping, this knife set covers all the essentials. The stainless steel construction offers sharpness, balance, and control, giving you precision in every cut.
- Stainless Steel Frying Pan: A must-have for achieving golden, crispy chicken, this frying pan delivers even heat distribution and long-lasting performance. Perfect for everything from searing to simmering.
- Vegetable Peeler: Streamline your prep time with this ultra-sharp peeler that glides through produce skins with ease. It’s ergonomic, efficient, and built for everyday use.
- Utensil Set: Complete your kitchen with high-quality stainless steel spatulas, ladles, and tongs—ideal for flipping, stirring, and serving dishes like Sweet and Sour Chicken with ease.
What Makes ChopChop USA the Smarter Choice
When it comes to reliable, high-performing cookware and kitchen tools, ChopChop USA is a standout choice. Here’s why so many home cooks and culinary enthusiasts trust this brand:
- High-Quality Materials: ChopChop USA products are made with premium stainless steel and food-grade materials, ensuring durability, heat resistance, and long-term use. Smart, Functional Design: From ergonomic handles to dual-surface cutting boards that protect knives and prevent cross-contamination, ChopChop USA tools are engineered for both safety and convenience. They make everyday cooking feel effortless.
- Kitchen-Ready Versatility: Designed to handle everything from frying and stir-frying to slicing and prepping, these tools are ideal for beginners and experienced cooks alike.
- Stylish Yet Practical: Sleek, modern design meets serious function—ChopChop USA elevates your kitchen while making it more efficient.
- Great Value: With professional-grade performance at an accessible price point, ChopChop USA delivers on quality without breaking the bank.
Final Thoughts
This Sweet and Sour Chicken is your ticket to restaurant-style flavors at home—crispy, tangy, and bursting with bright flavors. Perfect for any occasion, easy to customize, and even better with ChopChop USA cookware that makes each step smoother. Give it a try—you might just make this your new family favorite.
Let me know if you’d like any tweaks or additions!
FAQs
Can I use pork instead of chicken?
Absolutely—cubed pork shoulder or loin works beautifully in this recipe.
How long will leftovers keep?
Store in an airtight container in the fridge for up to 3 days. Reheat in a pan to restore crispiness.
Is baking an option instead of frying?
Yes, but frying gives the signature crunch that baking doesn’t fully replicate.
Is food coloring necessary?
Not at all—it’s optional and purely for enhancing visual appeal.